Building microservices using docker swarm with Oauth2
Posted on Sep 30, 2018
Today we will learn how to build simple multi tier microservice using Oauth2 authorization with Redis session management. Our front end will be build using Spring Boot which will use backend python service for fetching the fortune message to be displayed. The block diagram for the application is as below. All the example code is uploaded to github at Github
User Interface
Spring boot comes with lot of convenient defaults that allows to jump start for developing any application. We will make use of spring boot security to configure our Oauth2 filter. We will make use of Google Oauth2 endpoint for authorizing our application. For this we first need to obtain the client key and client secret from Google. Go to Spring Initializr. Select Web, security and oauth2 in the dependencies field and click on download button.
Obtain Oauth2 client key and client secret from Google
To obtain client key and client secret, Click on Google console. Click on start new project from dropdown above, fill up the details of your demo project. Open the left side menu and select “API and Services” > “Credentials”. Enter the required details in the form, Please note that for Spring “Authorised redirect URIs” should be “http://
Once you generate the keys you are ready to use it in our Spring application.
Configure the Spring application with Oauth2 client and client secret
Before using the client and client secret we need to enable Oauth2 for Spring application. We will make use of @EnableOAuth2Sso annotation for this. This annotation allows us to configure OAuth endpoints using simple configuration in application.yml file.
application.yml
security:
  oauth2:
    client:
      clientId: 434972283788-j1n2hihmbr8hvf0a9hfa65dnvh15b4qh.apps.googleusercontent.com
      clientSecret: gHPRImLetr6u-nT5lZTqeQm3
      accessTokenUri: https://www.googleapis.com/oauth2/v4/token
      userAuthorizationUri: https://accounts.google.com/o/oauth2/v2/auth
      tokenName: access_token
      authenticationScheme: query
      clientAuthenticationScheme: form
      scope: https://www.googleapis.com/auth/userinfo.profile
    resource:
      userInfoUri: https://www.googleapis.com/oauth2/v2/userinfo
app:
  service:
    cowsay:

logging:
  level:
    org.springframework.security: DEBUG
Spring boot application configuration
@SpringBootApplication
@EnableOAuth2Sso
public class FortuneTellerUiApplication  extends WebSecurityConfigurerAdapter {

	@Override
	protected void configure(HttpSecurity http) throws Exception {
		http.antMatcher("/**").authorizeRequests().antMatchers("/","/login**","/webjars/**","/error/**").permitAll().anyRequest().authenticated().and().csrf().csrfTokenRepository(CookieCsrfTokenRepository.withHttpOnlyFalse()).and();
	}

	public static void main(String[] args) {
		SpringApplication.run(FortuneTellerUiApplication.class, args);
	}
}
For calling the backend service we will make use of simple RestTemplate.
Cowsay rest service
We will develop our backend in python with Django. You need to have python 3.5 with pip installed on your machine to proceed further.
Install and configure Django
## Initialize project directory
mkdir cowsay-service

## Create python virtual environment
virtualenv env
source env/bin/activate

# Install Django and Django REST framework into the virtualenv
pip install django
pip install djangorestframework

# Set up a new project with a single application
django-admin.py startproject cowsay .  # Note the trailing '.' character
cd cowsay
django-admin.py startapp cowsayRest
cd ..
Create model for Message
Update cowsayRest/models.py with our Message model
class Message(models.Model):
    created = models.DateTimeField(auto_now_add=True)
    message = models.CharField(max_length=2048)
    serverName = models.CharField(max_length=64)

    def __init__(self, message, serverName):
        self.message = message
        self.serverName = serverName

    class Meta:
        ordering = ('created',)
We need model to be serialzed to Json object so we need to define which fields to be included in the serialization and how the individual fields to be serialized.
class MessageSerializer(serializers.Serializer):
    message = serializers.CharField(max_length=2048)
    serverName = serializers.CharField(max_length=64)
We will define view for our application which will just produce fortune and cowsay command to generate the message text, and this message text will be serialized using serializer defined above.
def fortune(request):
    fortune = subprocess.Popen(('fortune'), stdout=subprocess.PIPE)
    output = subprocess.check_output(('cowsay'), stdin=fortune.stdout)
    fortune.wait()
    message = MessageSerializer(Message(message = output.decode("utf-8"),serverName = socket.gethostname()))
    return JsonResponse(message.data, safe = False)
We are all set only thing remaining is mapping the url to point to view we defined. initialize cowsayRest/urls.py with the url mapping as below
urlpatterns = [
    url(r'^fortune/$', views.fortune),
    url(r'^', views.fortune),
]
As you have noticed we have mapped /fortune and /* url to same view fortune. I have done this because there is a possibility that the load balancer check the health of the application by sending the request at the root of the application. Otherwise you can skip the second mapping and only keep the mapping for fortune/
Last but not the least we need to enable Django rest app in cowsay/settings.py
INSTALLED_APPS = [
    'rest_framework',
 ...
Building the docker containers
As we are making of Spring Boot, we will make use of plugin offered by Spring Framework to generate the docker image, so include below plugin in pom.xml
<plugin>
				<groupId>com.spotify</groupId>
				<artifactId>dockerfile-maven-plugin</artifactId>
				<version>1.4.4</version>
				<configuration>
					<repository>${docker.image.prefix}/${project.artifactId}</repository>
					<buildArgs>
						<JAR_FILE>target/${project.build.finalName}.jar</JAR_FILE>
						<tag>${project.artifactId}-${project.version}</tag>
					</buildArgs>
				</configuration>
</plugin>
Create a Dockerfile under UI project
FROM openjdk:8-jdk-alpine
VOLUME /tmp
ARG JAR_FILE
COPY ${JAR_FILE} app.jar
ENTRYPOINT ["java","-Djava.security.egd=file:/dev/./urandom","-jar","/app.jar"]
For Cowsay rest service we will make use of Docker file as below
FROM python:3
COPY . /usr/src/app
WORKDIR /usr/src/app
RUN pip install -r requirements.txt
EXPOSE 8000
USER root
RUN apt-get update && apt-get -y --fix-missing upgrade && apt-get install -y --fix-missing fortune cowsay
CMD ["./start.sh"]
As you might have noted that we are using start.sh to initialize our Django app and start the development server
export PATH=/usr/games:$PATH
python manage.py migrate
python manage.py runserver 0.0.0.0:8000 >> log 2>&1
In the abo file we are initializing the PATH environment variable to include fortune and cowsay programs from /usr/games/ directory.
We will trigger the build for above two docker images using build.sh
(cd fortune-teller-ui; ./mvnw clean package && ./mvnw install dockerfile:build)
(cd cowsay-service/cowsay; docker build -t spsarolkar/cowsay .)
(cd fortune-teller-ui; ./mvnw clean package && ./mvnw install dockerfile:build) – This comand builds the User Interface executable jar file using spring boot maven plugin and then spring docker plugin generates the docker image.
(cd cowsay-service/cowsay; docker build -t spsarolkar/cowsay .) –> This is a used for generating docker image for Cowsay Rest service
Docker swarm configuration
Once we have both the images build we will move on the creating the docker Swarm configuration. create new file docker-compose.yml under root of the project.
version: '3.2'

services:
    sessions:
        image: redis:4
        ports:
            - 6379:6379
        networks:
           web:
               aliases:
                   - redis

    cowsay-service:
        image: spsarolkar/cowsay
        ports:
                - 8000
        environment:
            - SERVICE_PORTS=8000
        deploy:
            replicas: 5
            restart_policy:
                condition: on-failure
                max_attempts: 3
                window: 120s
        networks:
                web:
                   aliases:
                        - cowsay-cluster


    cowsay-proxy:
        image: dockercloud/haproxy:1.6.7
        depends_on:
            - cowsay-service
        environment:
            - BALANCE=leastconn
        volumes:
            - /var/run/docker.sock:/var/run/docker.sock
        ports:
                - "8000:80"
        networks:
            web:
               aliases:
                    - cowsay
        deploy:
            placement:
                constraints: [node.role == manager]

    cowsay-ui:
        image: spsarolkar/cowsay-ui
        ports:
                - "8080:8080"
        environment:
             - COWSAY_SERVER_NAME=cowsay
             - COWSAY_SERVER_PORT=80
             - REDIS_SERVER_NAME=redis
             - REDIS_SERVER_PORT=6379
        depends_on:
            - redis
            - cowsay
        networks:
            web:

networks:
        web:
Along with the images we built, there are two more images configured. Please find the details below.
redis:4
This image is used for redis database for session management. Currently we only configured single instance of UI but we can scale more just by adding more instances without worrying about sticky sessions.
dockercloud/haproxy:1.6.7
This image is a load balancer for backend Cowsay Rest service.
We are all set to start our service using below command
docker stack deploy --compose-file=docker-compose.yml prod
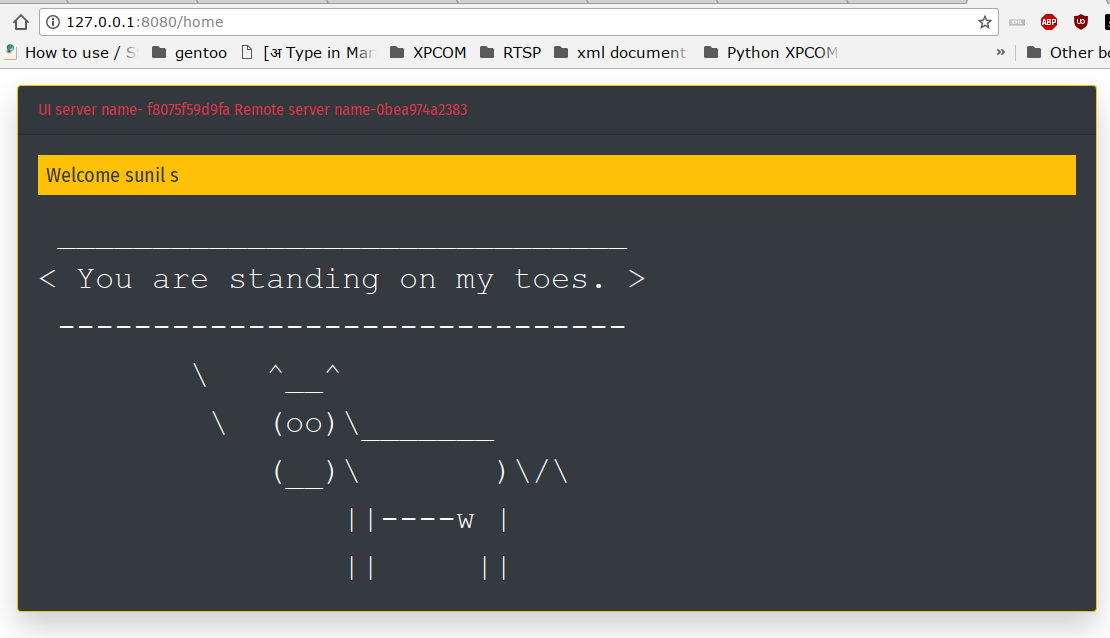
Once all images deployed you will see out UI once you visit the browser http://127.0.0.1:8080/
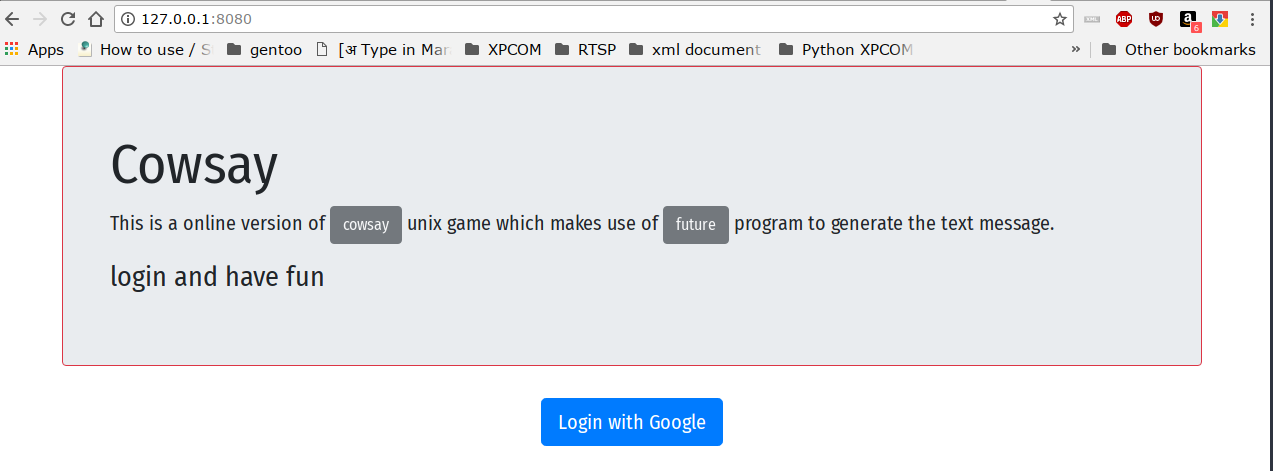
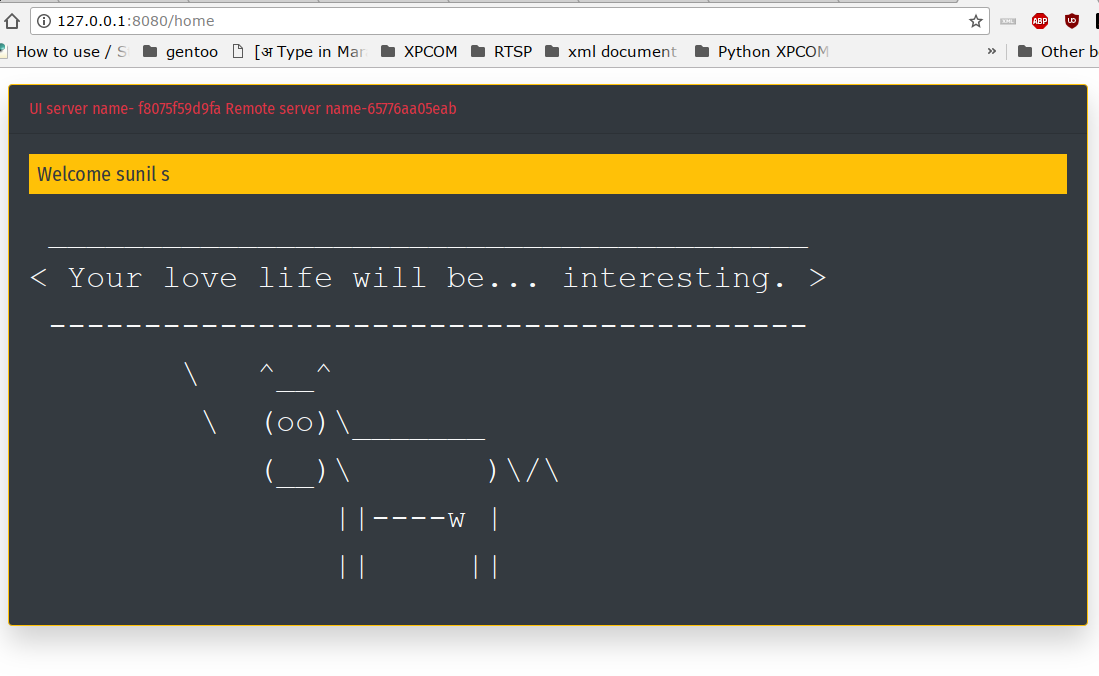
Click on “Login with Google” button and you will be directed to Google OAuth authentication page. Once you login to your google account you will be redirected to home page and the fortune message will be displayed with cowsay decoration. Also notice the servername displayed in red to confirm that any subsequent requests are responded using different backend server handled by haproxy for load balancing purpose.